
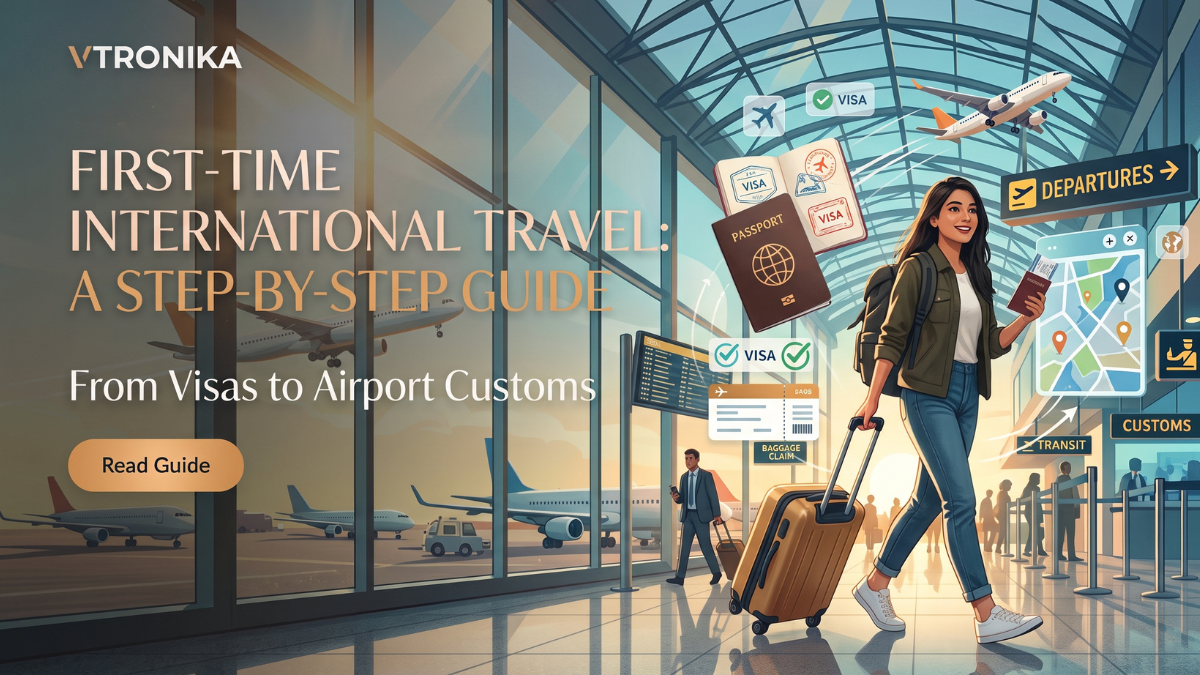
1. Passport Readiness, Six-Month Rules, and Essential Documentation
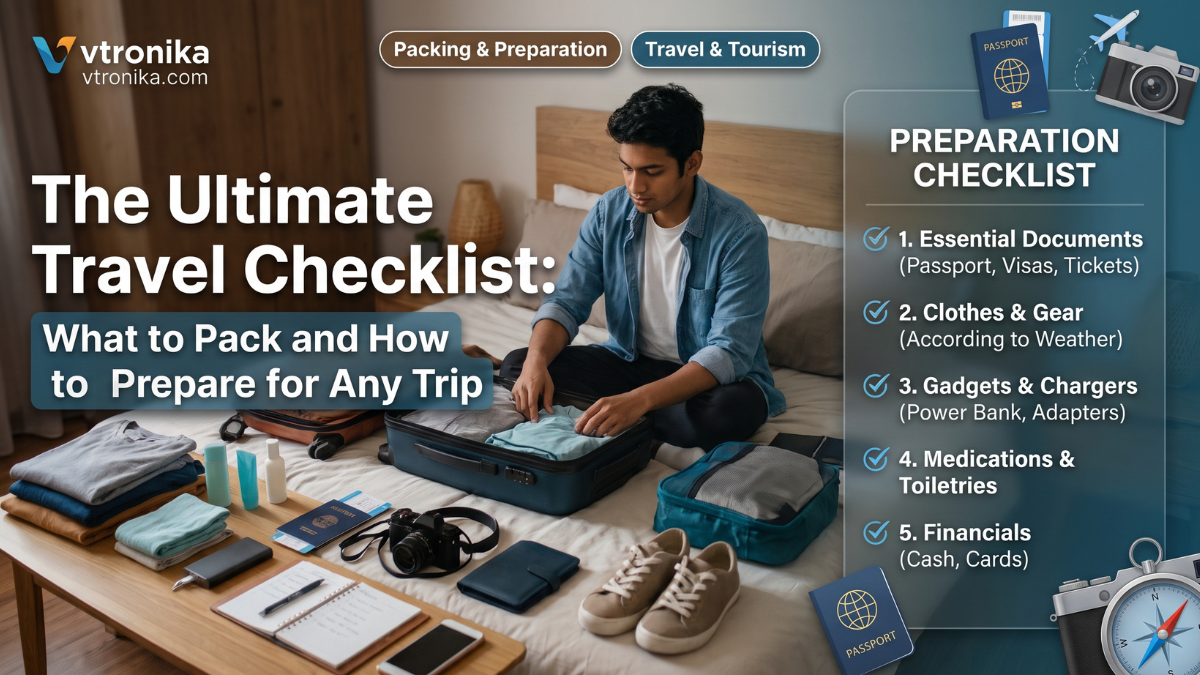
International transit begins with verifying your legal travel credentials. Over 70 countries strictly enforce the “six-month validity rule,” which mandates that your passport must remain valid for at least half a year beyond your planned departure date.
- Page Requirements: Check that your booklet contains at least 2 to 4 entirely blank visa pages for entry and exit stamps.
- Physical Condition: Immigration authorities can reject passports with water damage, torn covers, or loose binding.
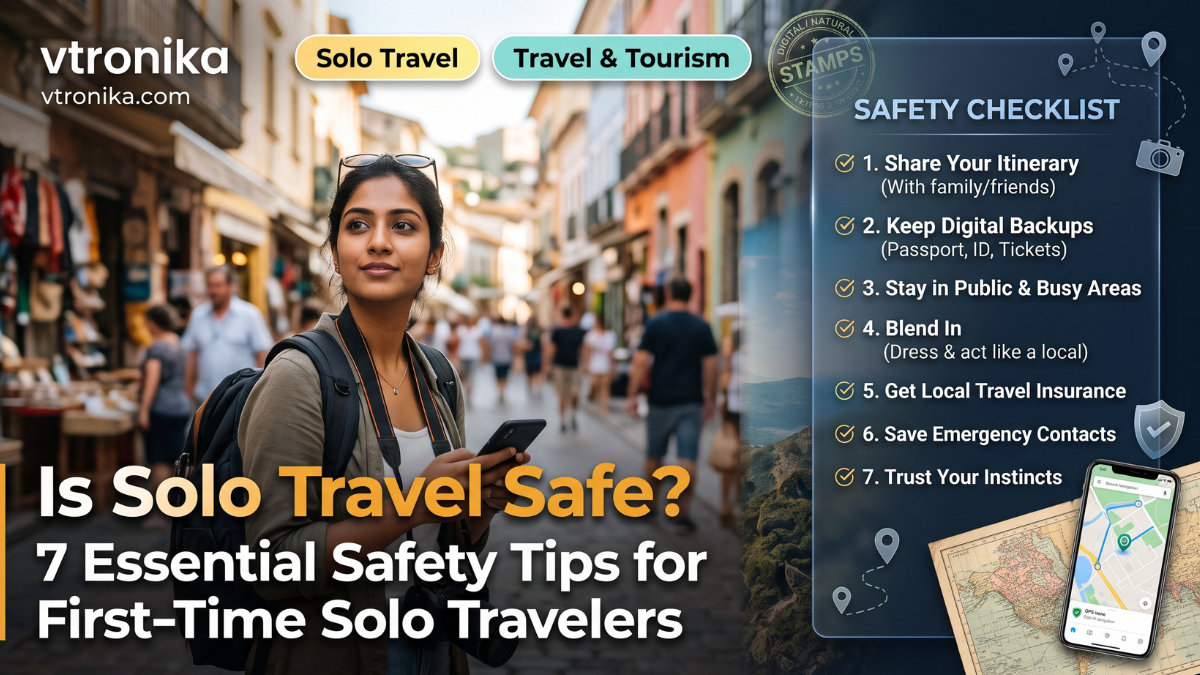
- Redundancy & Backups: Keep physical color photocopies of your passport biodata page, visa slips, and hotel bookings in a separate compartment of your carry-on. Store high-resolution encrypted scans in a cloud folder accessible offline.
2. Navigating Visas: e-Visas, Embassies, and On-Arrival Clearances
Visa requirements depend on your nationality and destination. Failing to secure the exact entry permit will result in the airline denying boarding at check-in.
- Types of Entry Permits:
- Traditional Consular Visas: Require in-person embassy visits, biometrics, bank statement proofs, and weeks of processing time.
- e-Visas / ETAs: Applied for online ahead of time (e.g., US ESTA, Australian ETA, or Schengen ETIAS). Always print confirmation receipts.
- Visa-on-Arrival (VoA): Obtained at the destination airport. Carry exact cash in US Dollars or Euros, as some counters do not accept international credit cards.
- Proof of Return/Onward Travel: Most border agencies require a confirmed return or onward ticket to verify you will not overstay your tourist period.
3. Flight Booking, Transits, and Travel Insurance Protocols
Booking flights requires evaluating connections, layover times, and transit visa policies rather than focusing solely on ticket prices.
- Layover Buffers: For international connections, book flights on a single ticket (PNR) and allow at least 2 to 3 hours for self-transits or terminal transfers. Changing terminals or transferring baggage in hubs like London Heathrow, Doha, or Istanbul takes significant time.
- Transit Visas: Some countries require airside transit visas even if you never step outside the airport gates. Check transit rules for every stop on your itinerary.
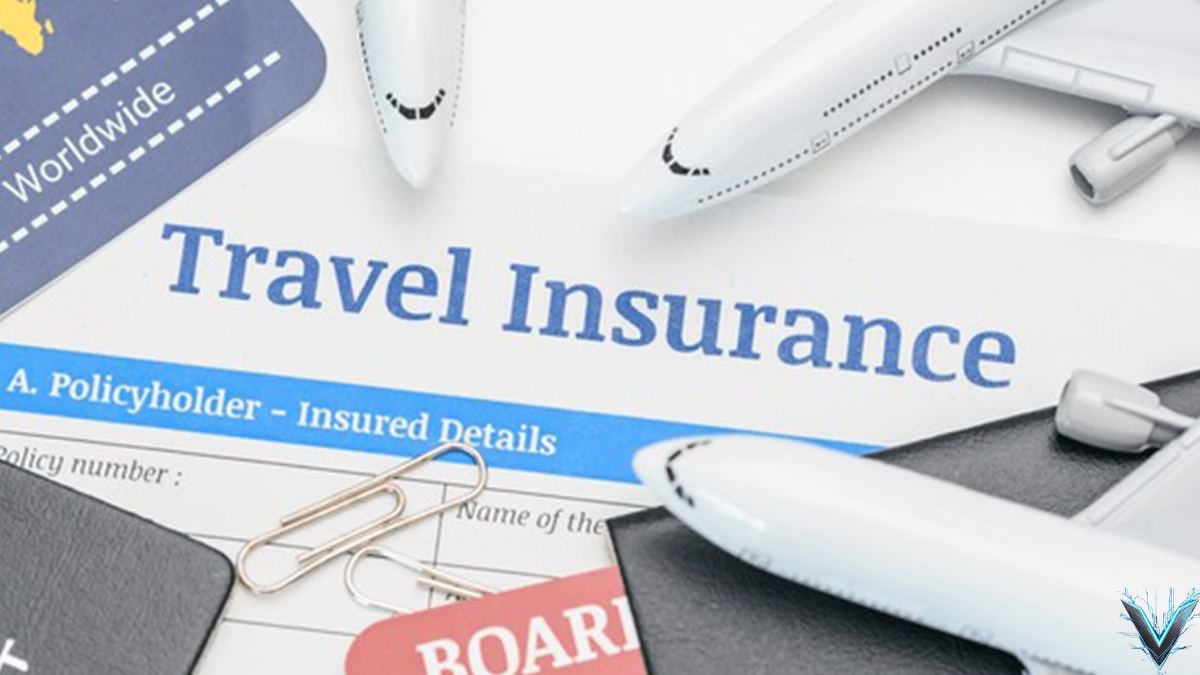
- Comprehensive Travel Insurance: Purchase a policy that includes emergency medical evacuation, inpatient hospital care, trip cancellation, and lost luggage compensation. Domestic medical plans rarely cover overseas emergency treatment.
4. Baggage Rules, Carry-On Restrictions, and TSA/ICAO Standards
Airlines enforce strict baggage policies on international routes. An oversight can lead to expensive airport penalties or confiscated belongings.
- Checked vs. Cabin Allowances: Standard long-haul flights usually permit 20–23 kg for checked baggage and 7–10 kg for carry-on luggage, but budget carriers enforce lower allowances. Weigh your bags at home before heading out.
- The 3-1-1 Liquid Rule: All liquids, gels, creams, and aerosols in carry-on bags must be in containers of 100 ml (3.4 oz) or less. All containers must fit inside a single, clear, resealable 1-liter plastic bag.
- Lithium Batteries & Power Banks: Power banks and spare camera batteries must travel in cabin luggage—never in checked bags—due to cargo fire hazards.
5. Financial Prep: Currency Exchange, Forex Cards, and Banking Alerts
Handling money internationally requires a balance of local cash, backup credit cards, and digital payment access.
- Bank Travel Notices: Inform your banks and credit card issuers about your destination countries to prevent automated fraud freezes on your cards during foreign transactions.
- Avoid Airport Currency Exchange Kiosks: Exchange booths at terminal arrivals charge high commission spreads and fees. Instead, withdraw local currency directly from official bank ATMs located inside the arrivals hall using a low-fee debit card.
- Fee Structure: Carry at least two cards (Visa and Mastercard) from different banks. Always choose to be billed in the local currency rather than your home currency when a card terminal offers Dynamic Currency Conversion (DCC).
6. Health Formalities, Prescriptions, and Mandatory Vaccinations
Entering foreign borders often comes with specific public health safeguards.
- Yellow Fever & Endemic Zones: Countries in parts of South America and Sub-Saharan Africa require an International Certificate of Vaccination (Yellow Card) showing Yellow Fever immunization for entry.
- Prescription Medications: Keep all personal medicine in its original pharmacy packaging with your name clearly displayed. Carry an official English doctor’s prescription explaining the medical necessity.
- Controlled Substances Warning: Common over-the-counter painkillers, ADHD medications, or sleeping aids (e.g., codeine, Adderall, pseudoephedrine) are strictly banned narcotics in jurisdictions like the UAE, Japan, and Singapore. Verify legal status before packing.
7. Departure Day: Terminal Logistics, Check-In, and Security Screening
International travel requires arriving at the airport terminal 3 to 4 hours before the scheduled departure time.
- Online Check-In & Bag Drop: Check in online 24 to 48 hours prior. At the airport, proceed directly to the dedicated bag-drop lane to verify documents and check heavy suitcases. Collect your printed baggage tracking receipts.
- Outbound Passport Control: In many countries, you must pass through an initial departure immigration checkpoint where officers stamp your passport or scan your biometric data before allowing terminal entry.
- Security Screening Protocol: Empty your pockets into your carry-on, place large electronics (laptops, tablets) into individual trays, separate your clear liquid pouch, and remove shoes or belts if instructed by security personnel.
8. In-Flight Readiness, Layovers, and Landing Declarations
Long-haul flights require physical comfort management and administrative prep before touchdown.
- Cabin Hydration & Movement: Cabin air humidity sits below 20%. Drink water consistently, limit caffeine or alcohol, and stand up to walk the aisles every 2 hours to promote circulation and prevent deep vein thrombosis (DVT).
- Customs / Landing Cards: Flight attendants will hand out physical landing/customs declarations before descent. Keep a ballpoint pen in your pocket along with your passport and hotel street address to complete the form without delays.
- Transit Checkpoints: If transferring flights, follow signs for “Flight Connections” or “Transfers” rather than exiting toward baggage reclaim. You may need to pass through a quick security re-screening before entering the departures concourse for your next leg.
9. Foreign Immigration Clearance: Passport Control and Officer Inquiries
Once the aircraft doors open at your final destination, follow the overhead signs directly to “Passport Control,” “Immigration,” or “Border Inspection”.
- Lane Selection: Join the line marked “All Passports,” “Non-Residents,” or “Foreign Nationals” unless you hold local or regional citizenship.
- Interactions with Border Officers: Hand over your passport, visa document, and landing card. Answer questions concisely and truthfully. Typical questions cover:
- The purpose of your visit (e.g., tourism, business conference, family visit).
- The exact duration and dates of your stay.
- The name and address of your hotel, Airbnb, or host.
- Your occupation in your home country.
- Biometrics Capture: Look into the camera for the facial scan and place your fingers on the glass optical scanner as directed by the officer. Once cleared, ensure your passport receives an entry stamp indicating your maximum permitted stay.
10. Baggage Retrieval, Customs Declarations, and Safe Ground Transit
After clearing immigration, follow the signs to the baggage reclaim hall.
- Baggage Carousel: Check the overhead monitor displays for your arriving flight number to locate your designated carousel. Verify your bag’s luggage tag number against your check-in receipt before leaving the area.
- Customs Channels (Green vs. Red):
- Green Channel (Nothing to Declare): Use this lane if you are carrying personal effects within duty-free limits and have no restricted items.
- Red Channel (Goods to Declare): Use this lane if you carry currency exceeding local legal reporting limits (commonly $10,000 USD equivalent), fresh agricultural produce, seeds, plants, or commercial inventory.